Tuesday, March 24, 2015

Walnut Dining Trestle Table: Final Details


              There are so many details to a finished piece that the process of readying a table for delivery almost becomes a subconscious march of affairs. As your hands become trained to spot the various stages each element of the piece present, you begin a dance to release it from the shop.


Friday, February 13, 2015

Walnut Dining Trestle Table: Top


Large table tops benefit from breadboard ends. They help keep the assembly flat and protect end-grain.

     I lay out the tenon and stub tenon and use a plunge router with a straight bit to form the tenons,  I saw out the waste using a jigs saw and a handsaw.

    The breadboards are dadoed to receive the stub tenon and slot mortised to receive the tenons.

    Once they are fitted I clamp them in place and drill through the whole assembly to locate the pegs.

The slots in the outer tenons are later widened to allow for movement.


Here we are right before assembly.

Monday, December 8, 2014

Walnut Dining Trestle Table: Stretcher


While the most joinery occurs in the leg assemblies of this trestle table, its the stretcher that makes the whole design work. Resisting racking forces and providing a stable base all depends on the stretcher.


The stretcher joins the legs via a large scale through tenon that benefits from some drawbored pins as do most large scale joints, 


We are gonna use that same draw boring for the feet and the bridal joint,


Friday, December 5, 2014

Walnut Dining Trestle Table: Legs Part 2


This about where we left off on the legs.


Cutting this bridal joint is fun and exacting all at the same time.  You can see the kerfs I use to relieve the waste.  The final removal can be done via chisel or a bandsaw.  Layout marks indicate orientation.  Cross grain cuts are all knifed to score fibers.


 The leg assemblies are joined via a centrally located stretcher that sits in a thru tenon cut into the upright of each leg.  Here is the layout,

The corresponding tenon is cut using a router and router board, here we are sizing the tenon:

Its easy to resolve to beating this joint together but far more productive to slowly work on the fit, there is no hiding a sloppy fit on a thru tenon:


Friday, November 14, 2014

Walnut Dining Trestle Table: Legs Part 1


This table is all about the legs.  So thats where we start:


Sizing the blanks for the feet on the bandsaw


No 16/4 Walnut handy, so these are face laminations of 8/4 stock.

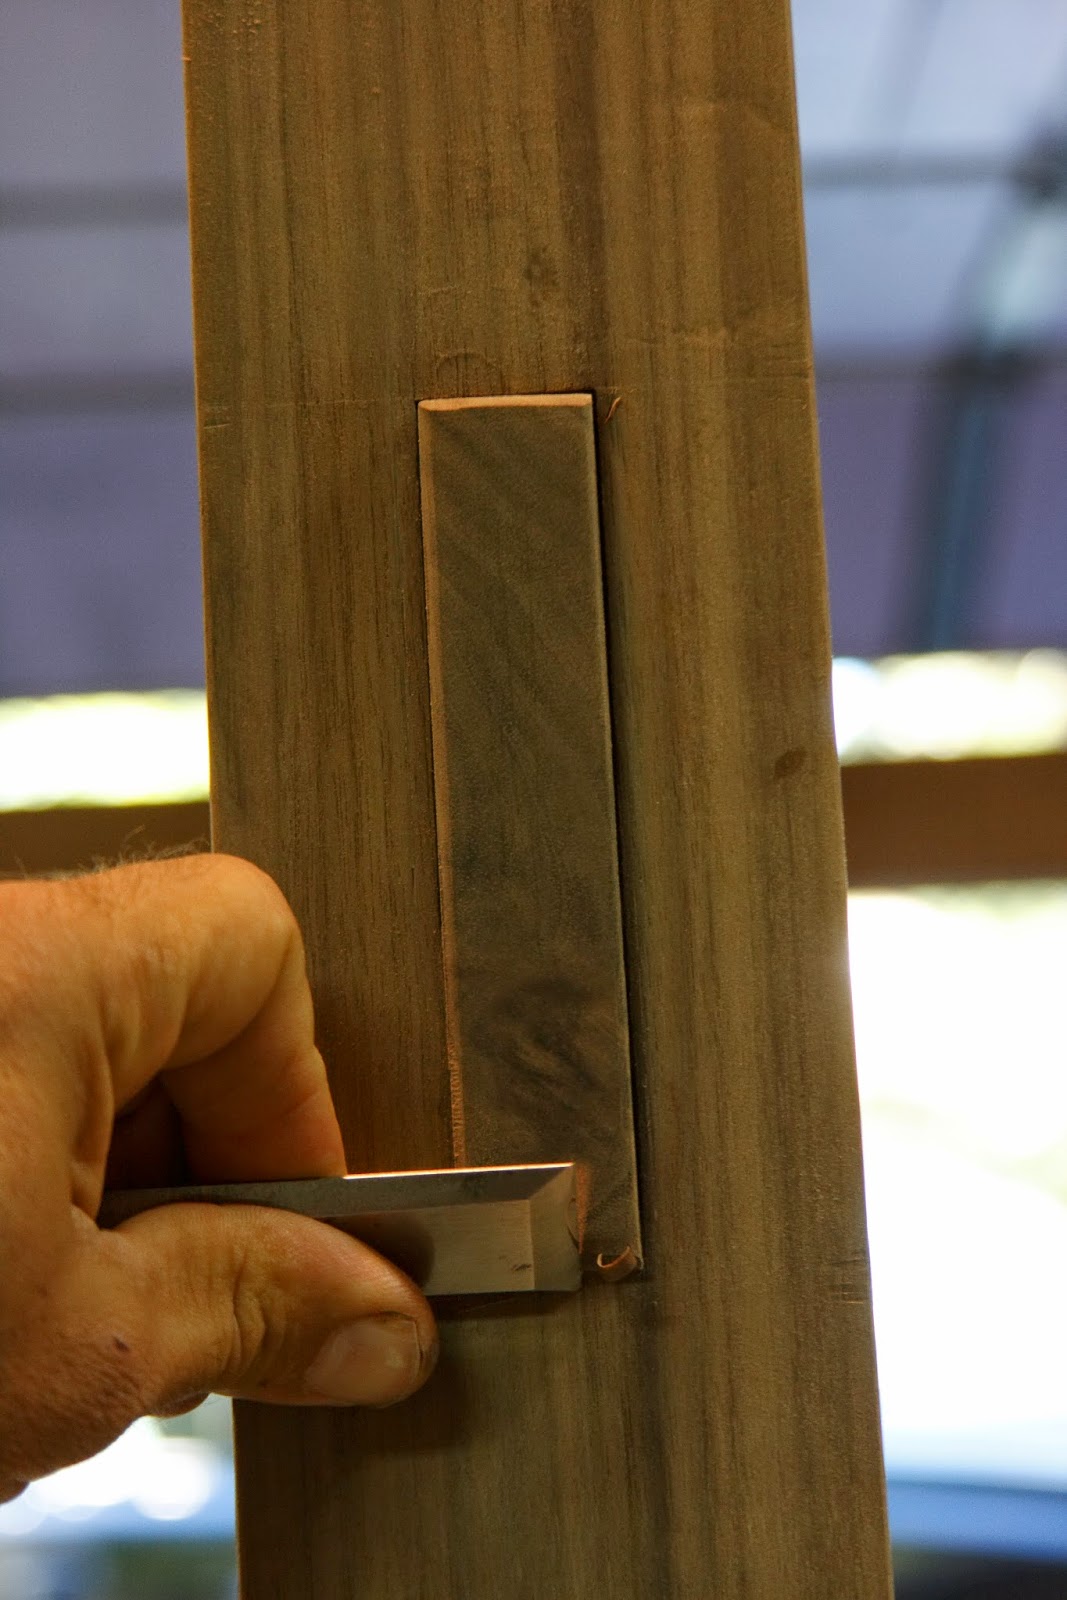
The foot features a colossal M/T joint where the upright meets the foot, I like to start with the mortise. If I can get a nice mortise cut with parallel walls, I find it easier to size the tenon.  

I hog these out on the slot mortiser , adjusting the z-axis as I go:

Put the upright right on the foot and pull your measurements directly.  This is a simple joint to cut. I am comfortable running the upright on the TS and finishing off with a sharp X-Cut handsaw.

With the bottom joint fitting properly we move to the bridle joint at the top attaching the upright to the upper support where the top will rest.  Again work piece to piece using centerlines always to line up and do the layout.

Its easy to miscut this joint because you are only removing half of the material from either member.  I chose to kerf the waste and finish up on the bandsaw.


Tuesday, September 9, 2014

Walnut Dining Trestle Table: Preview


coming soon....a generous 8 foot trestle table in walnut


Pulling out all the stops

- M&T joinery
- drawbored joints
- breadboard ends
- 8/4 material


Thursday, August 14, 2014


A few shots of the completed Maze Bookcase Project