Monday, December 8, 2014

Walnut Dining Trestle Table: Stretcher


While the most joinery occurs in the leg assemblies of this trestle table, its the stretcher that makes the whole design work. Resisting racking forces and providing a stable base all depends on the stretcher.


The stretcher joins the legs via a large scale through tenon that benefits from some drawbored pins as do most large scale joints, 


We are gonna use that same draw boring for the feet and the bridal joint,


Friday, December 5, 2014

Walnut Dining Trestle Table: Legs Part 2


This about where we left off on the legs.


Cutting this bridal joint is fun and exacting all at the same time.  You can see the kerfs I use to relieve the waste.  The final removal can be done via chisel or a bandsaw.  Layout marks indicate orientation.  Cross grain cuts are all knifed to score fibers.


 The leg assemblies are joined via a centrally located stretcher that sits in a thru tenon cut into the upright of each leg.  Here is the layout,

The corresponding tenon is cut using a router and router board, here we are sizing the tenon:

Its easy to resolve to beating this joint together but far more productive to slowly work on the fit, there is no hiding a sloppy fit on a thru tenon:


Friday, November 14, 2014

Walnut Dining Trestle Table: Legs Part 1


This table is all about the legs.  So thats where we start:


Sizing the blanks for the feet on the bandsaw


No 16/4 Walnut handy, so these are face laminations of 8/4 stock.

The foot features a colossal M/T joint where the upright meets the foot, I like to start with the mortise. If I can get a nice mortise cut with parallel walls, I find it easier to size the tenon.  

I hog these out on the slot mortiser , adjusting the z-axis as I go:

Put the upright right on the foot and pull your measurements directly.  This is a simple joint to cut. I am comfortable running the upright on the TS and finishing off with a sharp X-Cut handsaw.

With the bottom joint fitting properly we move to the bridle joint at the top attaching the upright to the upper support where the top will rest.  Again work piece to piece using centerlines always to line up and do the layout.

Its easy to miscut this joint because you are only removing half of the material from either member.  I chose to kerf the waste and finish up on the bandsaw.


Tuesday, September 9, 2014

Walnut Dining Trestle Table: Preview


coming soon....a generous 8 foot trestle table in walnut


Pulling out all the stops

- M&T joinery
- drawbored joints
- breadboard ends
- 8/4 material


Thursday, August 14, 2014


A few shots of the completed Maze Bookcase Project


Tuesday, July 8, 2014

Maze Bookcase: Joinery


I had a few questions posted about how these bookcases came together and decided I would reveal a bit more about what was going on:


These bookcases feature cantilevered shelves from the left and right sides.  Shelves like this are always a challenge because of the physics involved in supporting something from its endpoint. I settled on a tight dado, reinforced with loose tenons to keep the shelf from sagging and prevent it from being levered away from the side.


The central divider with horizontal shelves is assembled with a modified cross lap joint:


you can see the shallow dado that gives the cross lap even more strength and cleans up the intersection of the shelf with the upright.

The top and bottom are all attached to the side and upright with loose tenons.

Wednesday, May 21, 2014

Maze Bookcase Project


Thought I might check in here with a new client project:


There are numerous parts, and prep for finish has begun.


I will post some joinery details soon.

Wednesday, February 19, 2014

White Oak Console Table: Finish


A simple shaker inspired table like this is a great candidate for an oil varnish blend, but the ambered tone of oak furniture has been maligned by the mass production ubiquity of cheap oak kitchen cabinetry.  The client wanted the look of  raw white oak (as if it had just been sanded) that did not have the orange tones of an oil/varnish.

I shot the table with a matte clear conversion varnish.  The finish is a catalyzed product that is water white, incredibly tough, and comes in a flat 10 sheen.


Wednesday, January 29, 2014

White Oak Console Table: The Top


    A beautiful table top grabs your attention and engages your interest, often enticing your hands to run over its length.  These are the outward workings of a top: are its dimensions correct, does the finish suit it style, will it function as the piece is intended?

Large solid tops are challenging in almost every way.

I have to confess I glued up this top and had a panic attack.  I was under a time crunch and the glue-up had not yielded a suitable surface. There were some raised edges along the glue lines, and I had a bit of cup across the width.

What did I do, I took it to someone with bigger machines.  A 42" planer sander to be exact, and they leveled and sanded this top fantastically.  Moral of the story, there is no shame to knowing the limits of your own shop.

Even with the top flat and sanded, there was still much work to be done.

In my opinion large tops like this benefit greatly from breadboard ends.  They help keep the top flat and stable.  I also find that the edge where the endgrain would normally be exposed is neater .

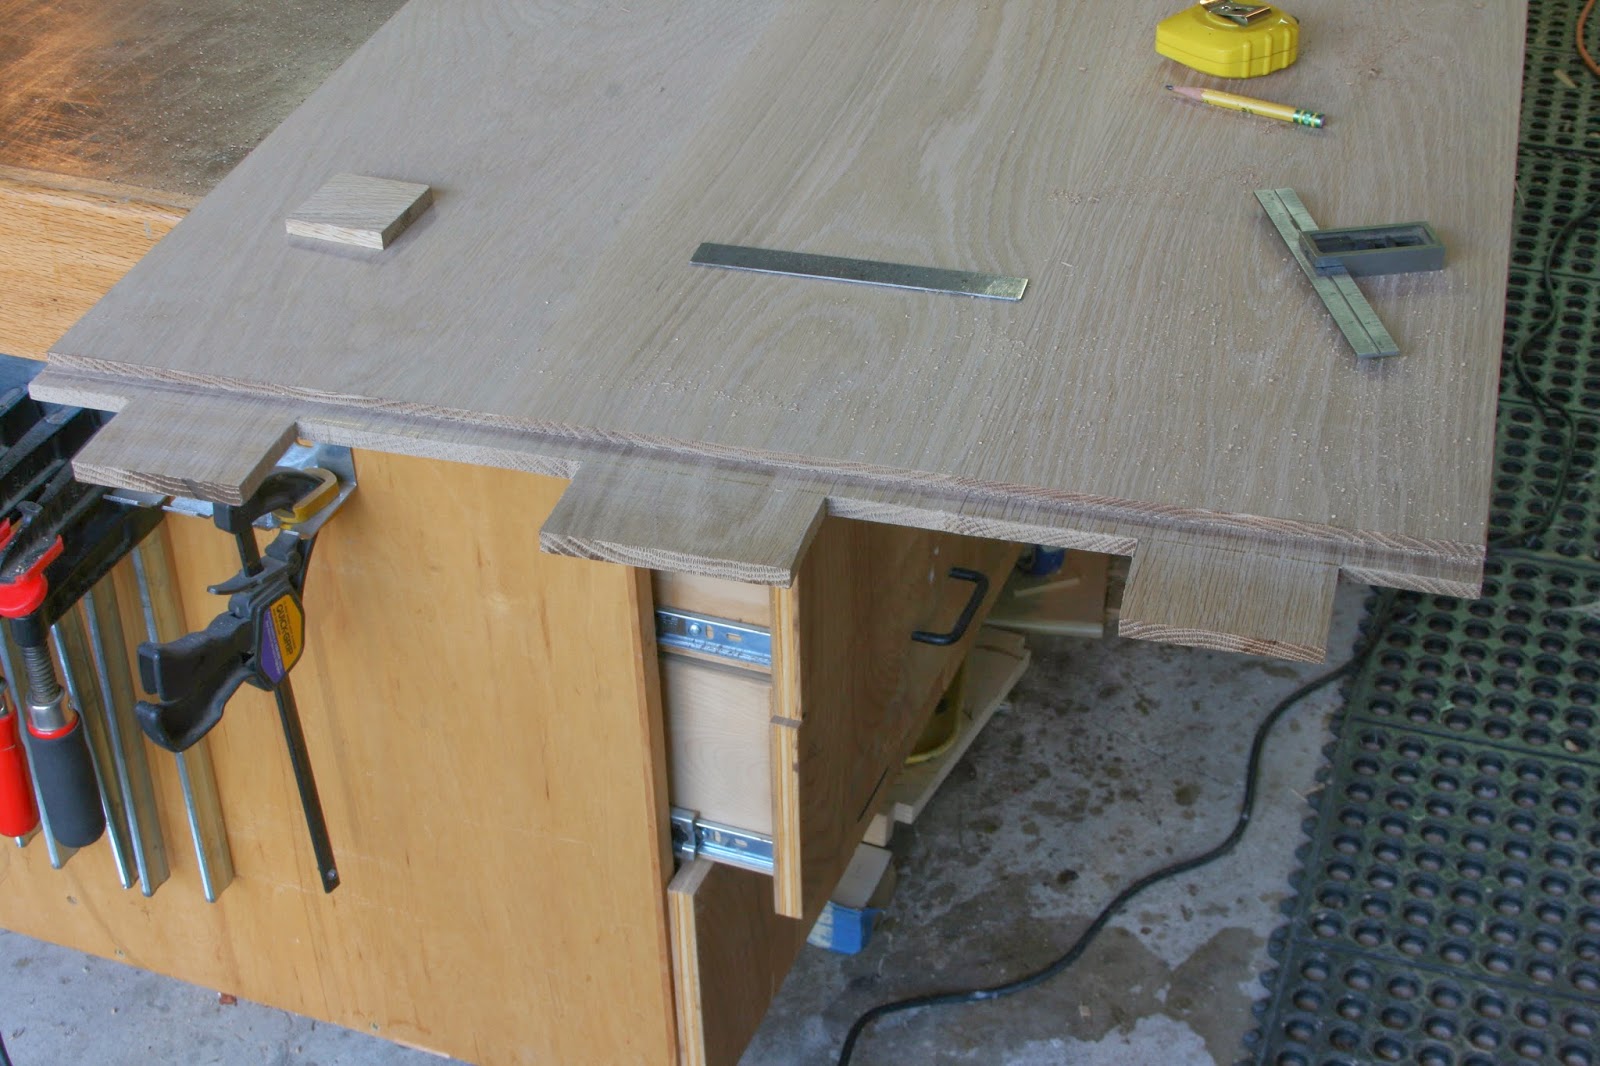
I start this process by making a shallow crosscut to define the shoulder of the tenon:

With the fibers cleanly severed, we can hog out the waste to define the cheeks of the tenon,


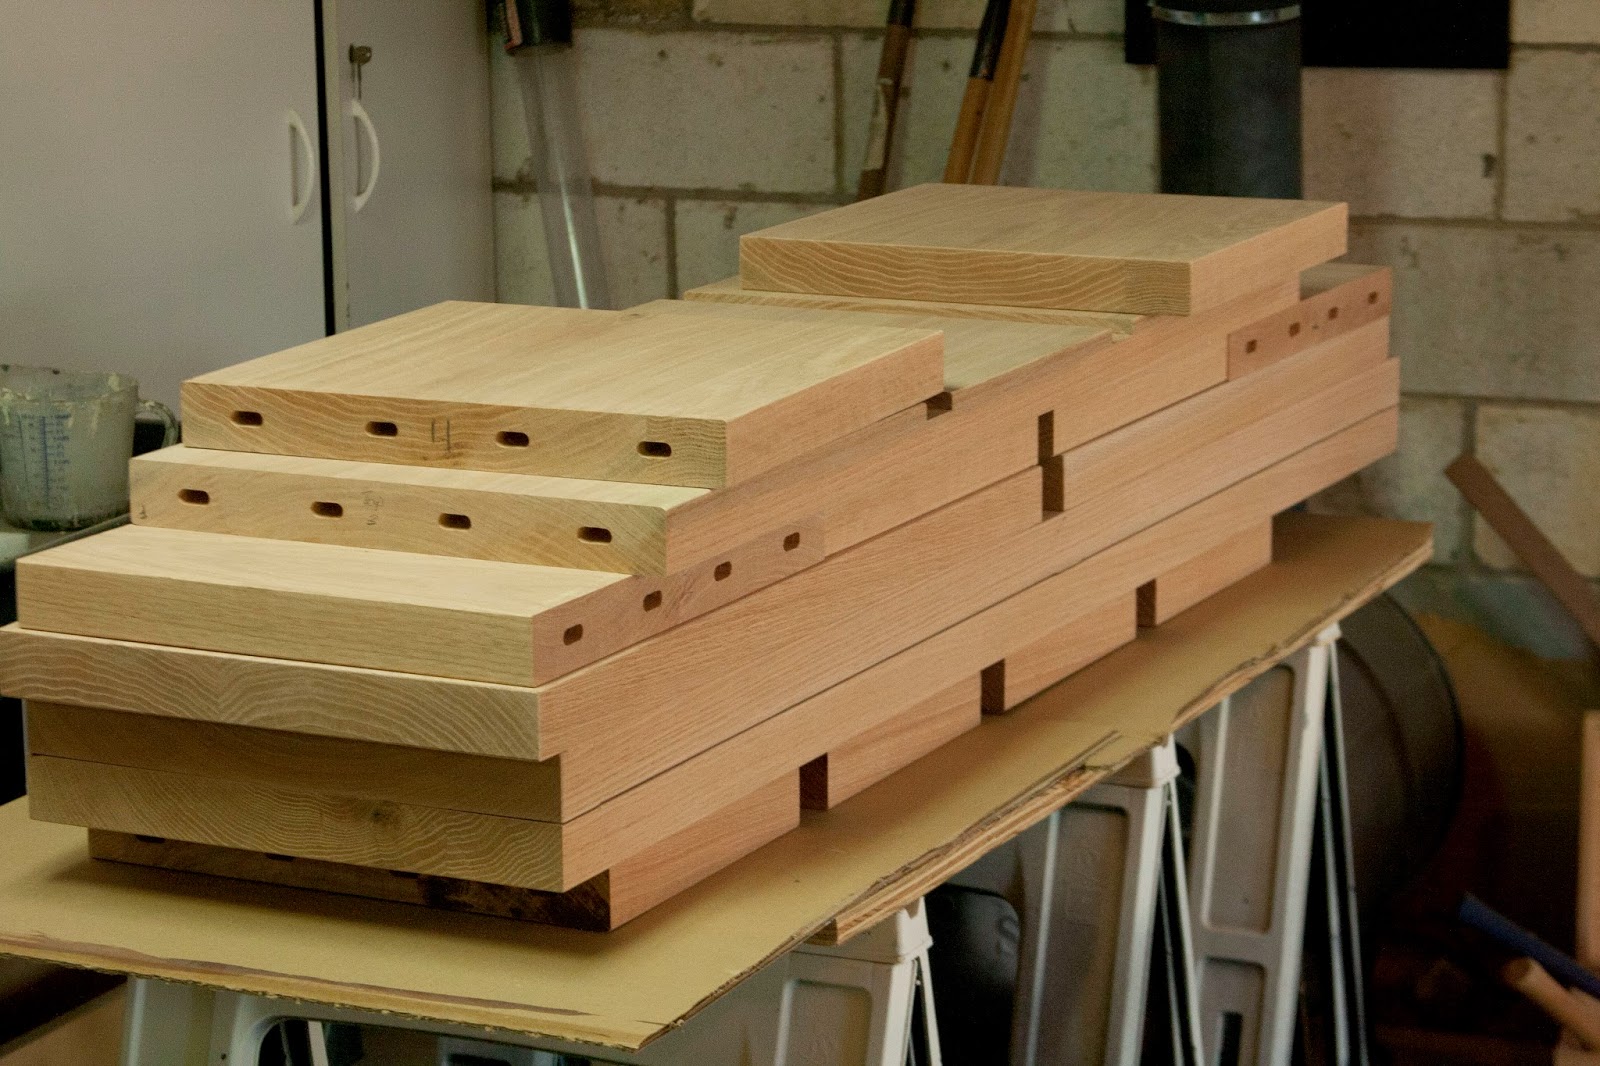
Lay out and cut your tenons, making sure to leave a stub tenon.


 I cut these with a jigsaw and transferred the layout to the breadboard end blanks.  After milling the groove to fit the stub tenon, I drilled out the mortises on the drill press.


Breadboard ends are traditionally pegged, but only glued on the center tenon, the peg holes in the tenons are widened to allow the top to expand with the clearance they are given in the mortises.


I lay glue on the center tenon and glue on all the pegs and assemble the the breadboards onto the top. The top is done.

Thursday, January 16, 2014

White Oak Console Table: Drawers


There is something wonderful about opening and closing a handmade drawers that has no metal slides.

I chose to complete the drawers with a pinned rabbet design, after reading an article by Hendrik Varju.

After choosing a single board to complete the drawer fronts and sizing the drawer front blanks to be tightly fit, it was time to accomplish the joinery for all the parts.

The sides fits into a rabbet cut into the front:


Notice that the sides stand proud of the sides, part of the finally fitting will involve a pass on the jointer to ensure a nice flush fit.

The carcass of the drawer is glued up, using a piece of scrap ply that matches the thickness of the bottom.  A diagonal clamp helps ensure square.

With the drawer carcasses glued up, I do the initial fitting by one quick pass on the jointer for the sides and a fine tuning with a smoother:

To increase the strength of the rabbet joinery, pins are driven thru the sides into the edge of the fronts

With the joinery finished, I size the ply bottoms, fine tune the fit of each drawer, wipe the interiors with a spit coat of shellac and set the drawers aside.