A beautiful table top grabs your attention and engages your interest, often enticing your hands to run over its length. These are the outward workings of a top: are its dimensions correct, does the finish suit it style, will it function as the piece is intended?
Large solid tops are challenging in almost every way.
I have to confess I glued up this top and had a panic attack. I was under a time crunch and the glue-up had not yielded a suitable surface. There were some raised edges along the glue lines, and I had a bit of cup across the width.
What did I do, I took it to someone with bigger machines. A 42" planer sander to be exact, and they leveled and sanded this top fantastically. Moral of the story, there is no shame to knowing the limits of your own shop.
Even with the top flat and sanded, there was still much work to be done.
In my opinion large tops like this benefit greatly from breadboard ends. They help keep the top flat and stable. I also find that the edge where the endgrain would normally be exposed is neater .
I start this process by making a shallow crosscut to define the shoulder of the tenon:
With the fibers cleanly severed, we can hog out the waste to define the cheeks of the tenon,
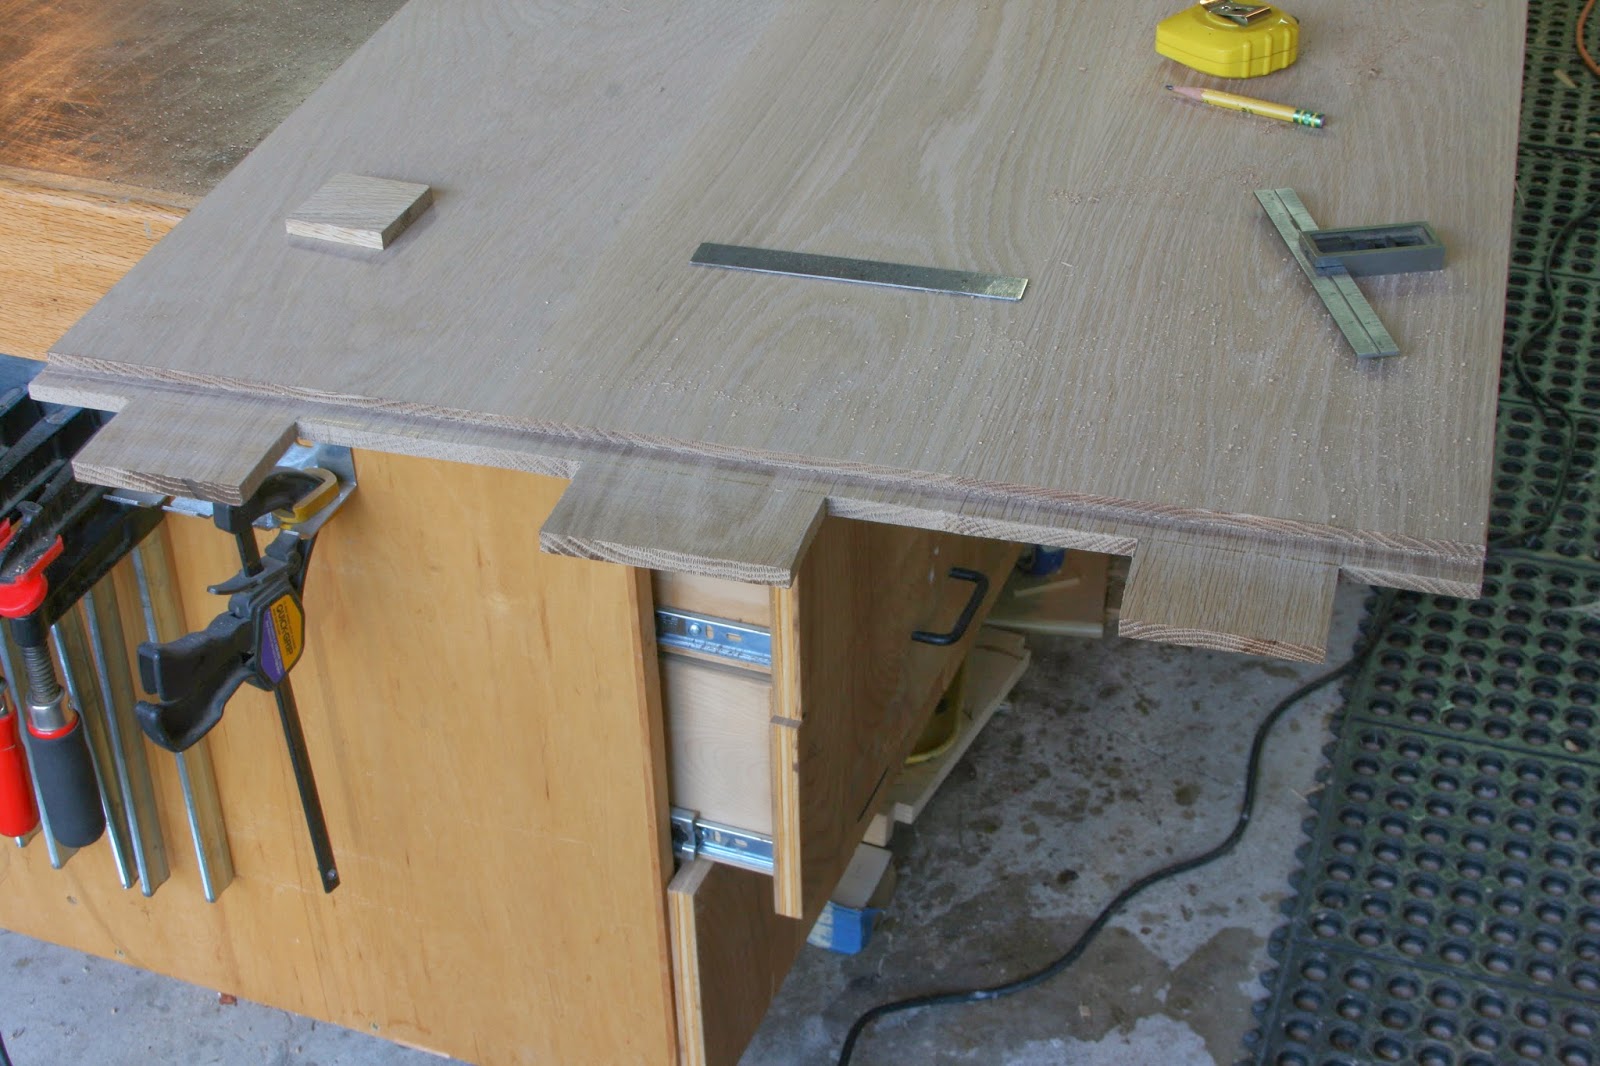
Lay out and cut your tenons, making sure to leave a stub tenon.
I cut these with a jigsaw and transferred the layout to the breadboard end blanks. After milling the groove to fit the stub tenon, I drilled out the mortises on the drill press.

I lay glue on the center tenon and glue on all the pegs and assemble the the breadboards onto the top. The top is done.


