Monday, February 13, 2012

Vitrine Antique Repair

I had an interesting piece come into the shop this week.

From what I can gather it is a Gilt Tilt-Top Vitrine.

I believe meant to display items.  It had been knocked over and one of the legs was broken off.


Several Glue-ups and Parts Repair later here she is:


Thursday, January 26, 2012

Mesquite Burl Slab Tables


Several months ago I picked up a pair of mesquite slab tables.  

I have started the epoxy fill process to stabilize bark inclusions and fill voids.

These will be coffee tables.  I have not decided what sort of base they will sit on.

Here they are in the rough,


Monday, September 12, 2011

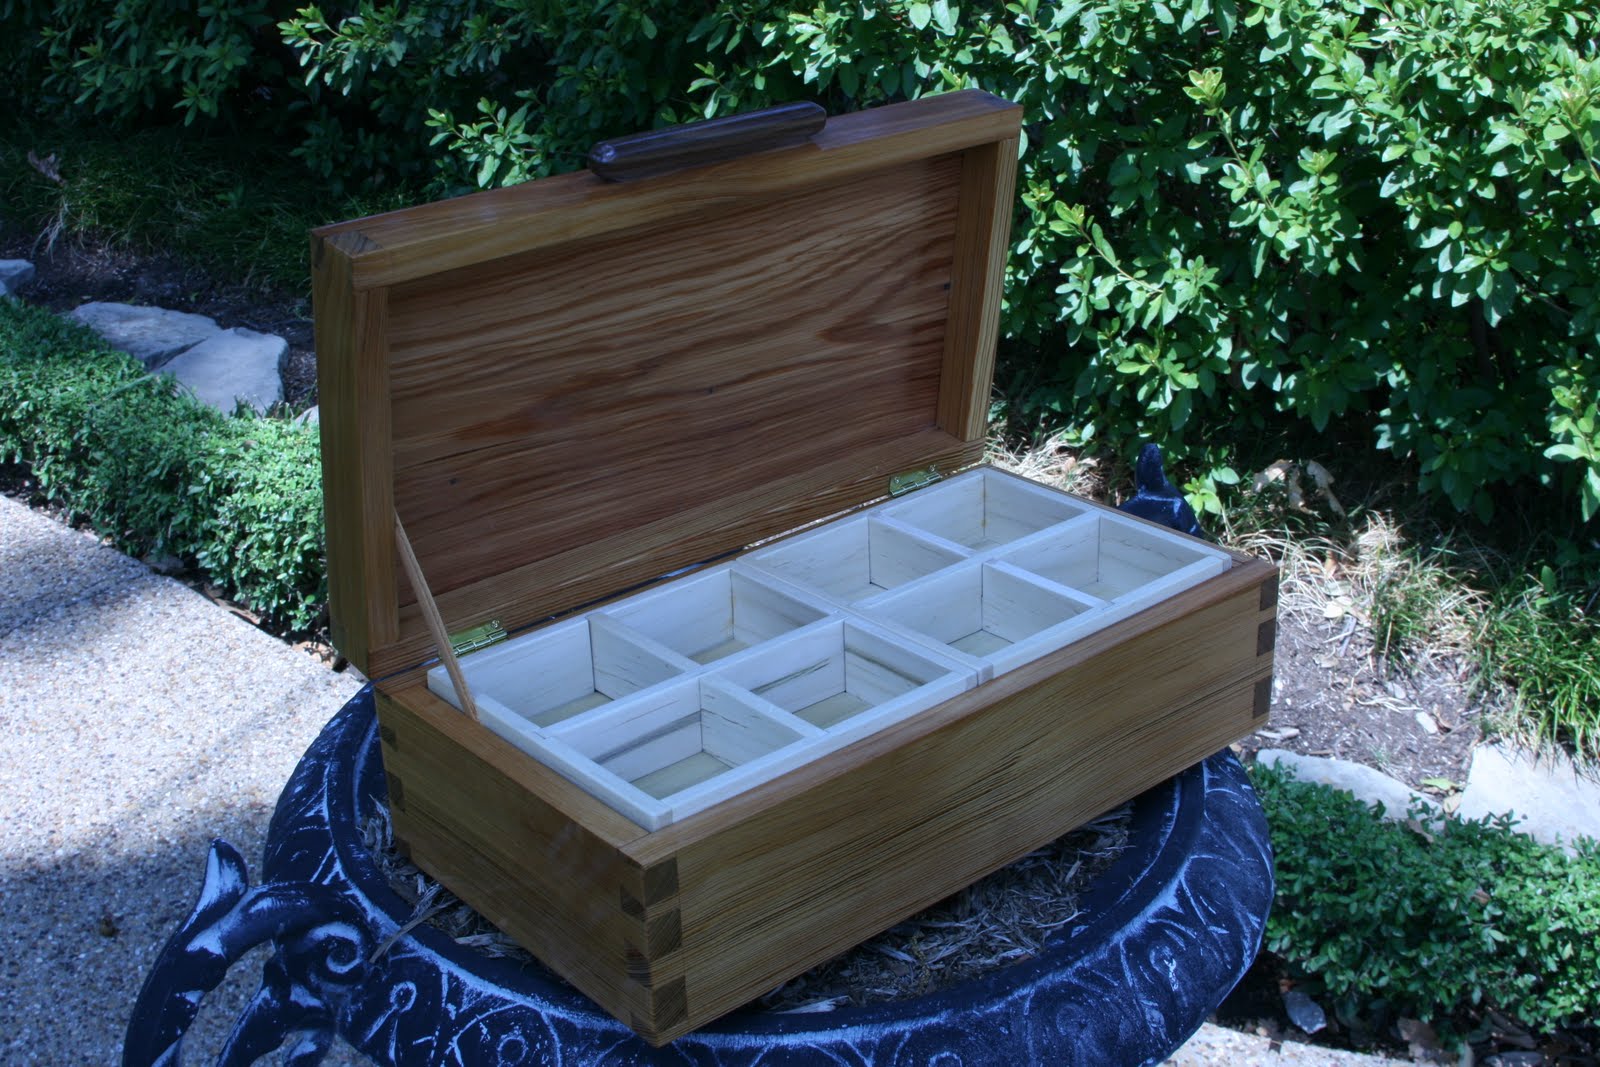
Reclaimed Cypress Jewelry Box

Jewelry BoxReclaimed Cypress Baseboards from a 1910 Craftsman Home
Walunt Handle
Leather Stay
Dovetail Construction
Dewaxed Clear Shellac High Gloss Finish


Wednesday, July 6, 2011

Building the 2x Side Table: Joinery Part 4

If cutting big dovetails out of  a few cleaned up 2x12s was not enough joinery for you then maybe this dado, thru-tenon joint will satisfy your hunger.

Its easy to rush a thru tenon joint and end up with a sloppy fit.  I have often approached the method of work with too much confidence, after all its just a square block going in to a square hole right?

We left off having finished the layout and scoring of the mortises.  Personally I would rather fit the tenon to the mortise. I find it easier to sneak up on the fit by filing or paring the tenon.  I find it difficult to keep the walls of the mortise square with the face if I start having to adjust the mortise.  This is my preference, so I start by cutting the mortises.


I use a shopmade slot mortiser to cut them, but a plunge router and template is more than adequate. Dry fit your shelf into the dado and use a marking knife to mark the outline of the mortise.
 Now we transfer the knife lines to the face and layout our tenons.  I prefer to mark the waste portions with pencil to help myself remember what SIDE of the line to cut on.  


I use two techniques to get cut the tenons out.  A Ryoba saw for the outside cuts and for the two interior the familiar coping saw and chisel routine.

Wednesday, June 29, 2011

Building the 2x Side Table: Joinery Part 3

Furniture with exposed joinery is not only an expression of craftsmanship but of honesty.   Joinery as a design element should be used with restraint.  Modern furniture has sometimes rejected the importance of joinery in search of sleek lines.  I believe there is a balance and its success is marked by using joinery for strength without overwhelming the simplicity of the piece.


Lay out the center-line of the dado for the shelf, by ganging both legs together with a clamp.

Note: I use only a centerline as this eliminates the mistake of being on the wrong side of the line.


The dado jig I am using, wonderfully explained by the Wood Whisperer:

http://thewoodwhisperer.com/exact-width-dado-jig/

is clamped in place with a plunge router/ bushing setup.


Putting the boards back together, to double check that the dado lines up, here is the result:

With the dado cut, we can layout the mortises for the through tenons.


Score the outline of the mortise with a marking knife, to fight chipout.

Next up, how do you cut those mortises?

Tuesday, June 21, 2011

Building the 2x Side Table: Joinery Part 2


We all settle on our own way of doing things, and that includes how you execute a dovetail joint.

With the outside of the tails cut, a coping saw is my first choice to remove the waste pins.


I cut the outside waste pins, just shy of the base line with a handsaw.


From here you pare to the baseline, halfway through the board, using chisels in incremental steps, flip and repeat from the otherside

Transferring the lines to the pin board is a feat with a table this size, quick clamps help to keep things in place.


Cutting the pins is more of the same, keep the chisels sharp and get out of the way of the saw.

Next Up, cutting the shelf joinery.


Thursday, June 16, 2011

Building the 2x Side Table: Joinery Part 1

Once all your parts are sized up, we can turn our attention to the essence of the table: the joinery.

Big dovetails are as much fun to cut as they are to piston-fit together.

It all starts with your layout:


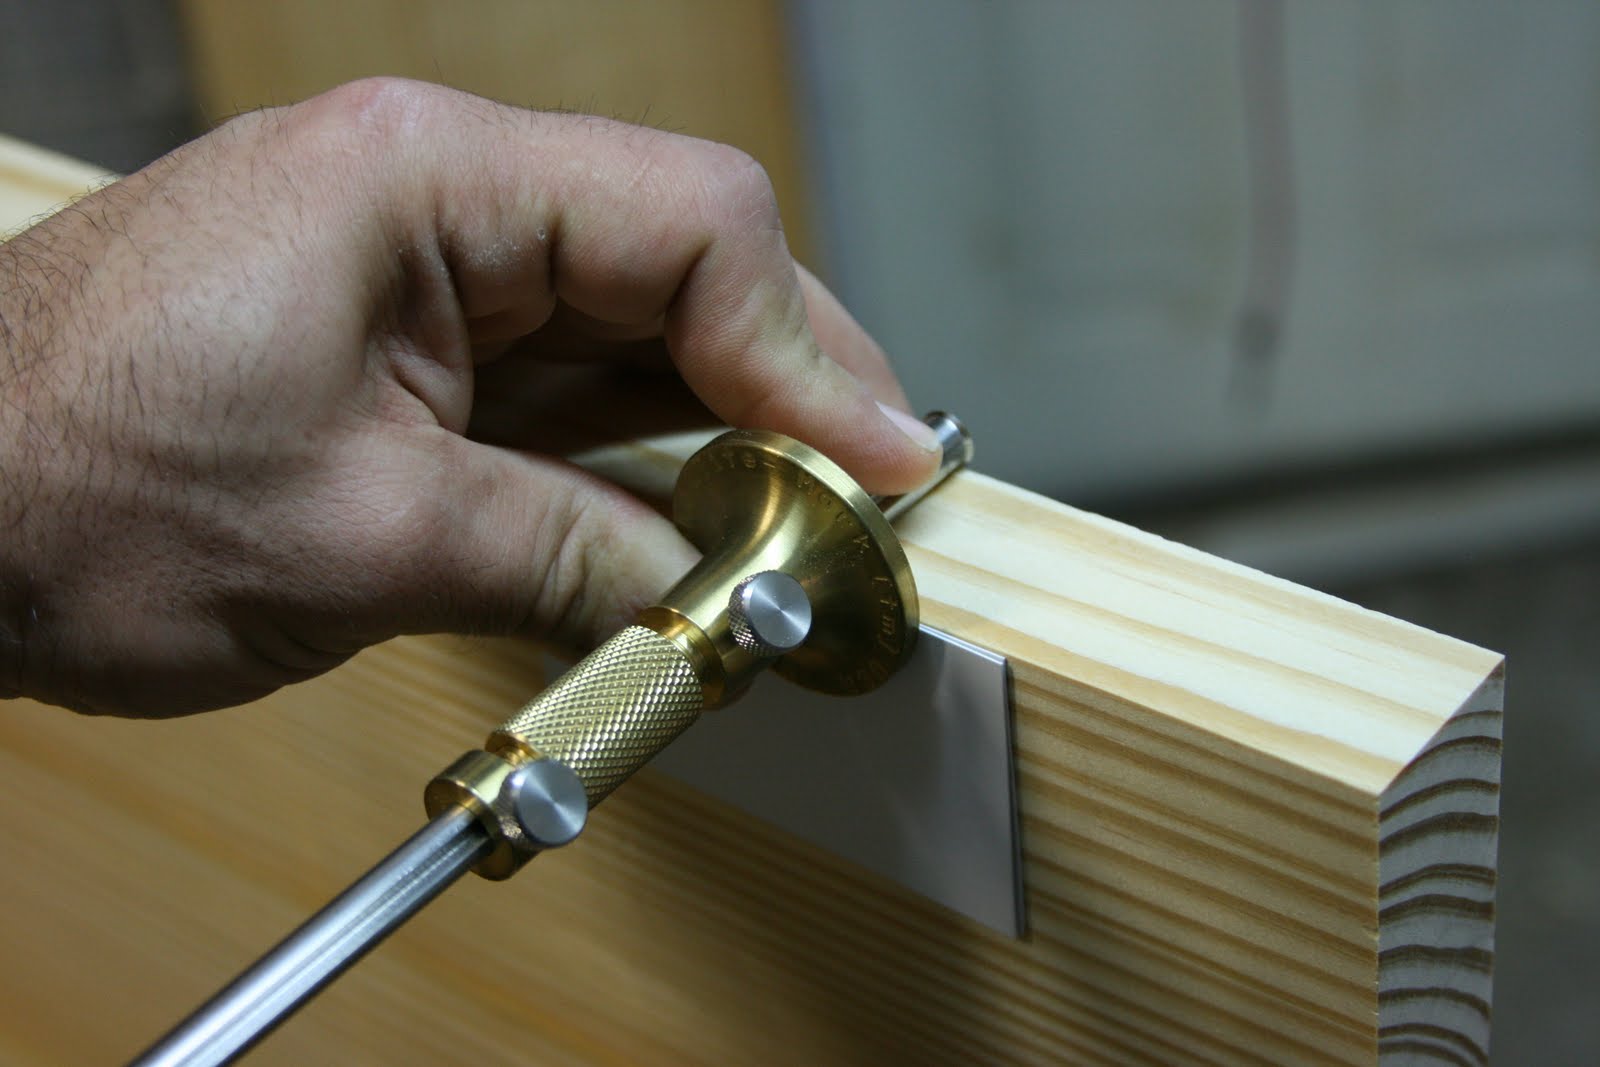
I like the pins and tails to stick out a bit when assembled so I can plane everything flush post glue up, so I pad the marking gauge with a business card. I strike a deep groove to mark my baseline.

Once all the baselines are marked, I cut a 1/32" rabbet on the inside faces of my tail boards.  If you are unfamiliar with this technique, read up on it here via the obligatory Schwarz post:

http://www.popularwoodworking.com/techniques/joinery/handplanes-and-dovetails

I like a router table setup for the cut, for lack of a moving fillister plane.

Set the fence for flush with the leading edge of a sharp straight bit, and then bump it a hair back.


Set your tail board on its top edge and adjust the bit so it grazes the top of your baseline mark, run you tail boards across an you should get this:


Now before you start reaching for the chisels, lets do some quick layout.

Gang your boards together and even their edges flush. I clamp this assembly together and use a hold-down in the right bench leg to tighten it against the front edge of the bench top. You want this to be rock solid.


Dovetail proportions are as varied and personal as any other stylistic choice in the craft.  Pick your own poison and stick with it.  My vote is well summed up by Roy Underhill :

http://www.popularwoodworking.com/techniques/joinery/roy-underhills-dovetails

No need to repeat that info here.

I generally measure out the center of the tailboard, mark 1x stock thickness on either side, and that is my center tail.  From their I will mark out  1/2 x stock thickness and those are my pins, continuing in this manner until all my joint is laid out.

You can see that depending on the width you may have to adjust the remaining tails to get a more even spacing, but who says they have to be even at all.

Next up, sharpen your implements.