Sunday, January 9, 2011

Open this Door.

     I go on walks quite often in our neighborhood, a by-product of dog ownership, and each house I pass by I admire the craftsmanship of the front doors.  There is something very satisfying about a hand made door; maybe its the heft of a solid wood frame and panel, the crisp details of the molding framing each of its parts, or the shape of an arch top jamb and door.


Dutch Door
    Material: Poplar
    Cope & Stick Frame/Panel
    Mortise/Tenon
    4 Glass Panels


Tuesday, December 21, 2010

Assemble, Assembling, Assembled

One of the shortcomings of my previous shop was the lack of the space  for an outfeed and assembly table.  I needed a solid work surface that served three purposes:  a flat surface to assemble projects, increase the capacity of my tablesaw cart, and increase the organized storage of my shop.

I looked over the design  Marc @ thewoodwhisperer.com had refined from David Marks, and its a great simple and useful table after which I modeled my table.

- 4' x 4' torsion box top with a replaceable hardboard skin.
- oak edgebanding for hard wearing edges
- 4" double locking casters for moving around
- all drawer storage below the surface. mounted on full-extension slides
- Table saw outfeed height,

Enjoy the pics:


Friday, November 19, 2010

Walnut Slab Coffee Table Part 3


Finish: Polymerized tung oil, modified tung oil/varnish.
Material: Live Edge Walnut Slab Top, Walnut Legs/Stretcher

Monday, November 15, 2010

Walnut Slab Coffee Table Part 2

With the slab cut to final dimension, I milled up some legs using some 4/4 material , matching grain and figure as best  I could  for a nice glue-up.

Dry fitting the legs in position I found a rough golden rule ratio to the negative space to be most suited for the design.


Studying the original design you will notice what appears to be either screws covered by plugs, dowels or perhaps multiple tenons joining the top and legs.  The intent was not to duplicate but pay respect, and as such I chose the joinery accordingly. Using 4 loose tenons, in this case the Festool Domino, I created 4 mortises in the end-grain of each leg and transferred the locations to the top.


Before glue up I tackled the stretcher bar joining the two legs near the bottom.  This is an oval shaped bar that fits in the center. Choosing a nice piece of straight stock, I milled the stretcher to the desired thickness and moved on to the router table to apply the profile desired.


With some final sanding, the result was a very smooth and well shaped stretcher; all we had left was making the mating socket in each of the legs.

Using a cutoff from cutting the stretcher to length I was able to trace out the socket and match the radius to a forstner bit. With the hole drilled out, the bandsaw finishes the task.


It was time for glue up.


Sunday, October 31, 2010

Walnut Slab Coffee Table Part 1

    I got the chance recently to work in a very special woodworking shop before moving from Brooklyn.  I was allowed to build a personal project during a 3 month apprenticeship.

    Before I continue I would like to give a very special thanks to Nathan Shellkopf, the owner of SouthSlope Woodworks. I credit him with singlehandedly changing the way I perceive the art of wood. Without his generosity this project would not have been possible.  The commissions that passed through his shop in the short time I was there, were simply inspiring and his work speaks for itself.

A few months ago, I was asked if I could produce a coffee table for my brother's new apartment and accepted the challenge happily.  I had an appetite for walnut that has proven unquenchable; I thought what better way to pay respect to the material then to pay homage to George Nakashima and build a piece in his timeless style.

My inspiration was a table I found featured in the online inventory of Moderne Gallery located in Philadelphia:


I found the beauty of this piece to be in its understated lines, simple construction and concentration on the qualities of the material.

Nate, outdid himself and sourced an exquisite slab to form the top.


The slab measured roughly 25" x 55" x 2.25" and the first step was to dress the faces mostly flat.  I say mostly because I did not find it necessary to get it that precise.

We took the fence off the 16" jointer and got the bottom flat enough to move on to the planer. The planer surfaced the slab beautifully and with ease, with a capacity of 25.5" in width and powered by a 10hp motor this was not surprising.


As with any live edge material, there is always some finessing of the edges to remove loose material where bark appears. This was accomplished using a brass brush and a drawknife.

I must stress that my goal was to manipulate the slab as little as possible.

Once the slab was dressed I used a track saw to square the edges to the centerline of the slab:

When dealing with material of this size and with no straight edge to reference, a track saw is the right tool. Of course a regular circular saw and sawboard will also accomplish the task aptly.

Stay tuned.

Wednesday, June 16, 2010

Walnut Blanket Chest Part 5

The blanket chest is finished and delivered.

2 Coats of Watco Medium Walnut, and 1 Coat Watco Natural wet sanded with 600 grit.


Tuesday, June 15, 2010

Walnut Blanket Chest Part 4

    There are a number of interesting details in this chest that is for the most part a big box; my favorite among them is the thumbnail molding that appears on the lid of both the chest and till.

It begins with a 1/8" rabbet cut along the front and side edges of the lid.  Traditionally cut with a rabbet plane, a router will perform the task quite aptly.


With the rabbet cut, I used a round object to mark the remaining radius of the molding on all corners.  At this point I grabbed a low angle block plane and started planing the edge of the profile by hand.  I like the irregularity of the result and the less than perfect symmetry of the radius.  I work by establishing a chamfer and refine the edge with successive passes,.

Here are the results:


With the lid finished, I cut the cleats and added a chamfer on the ends of each one:


With the cleats chamfered, a few swipes with the smoothing plane, and we are ready to mount them to the lid:


    If there is ever a time that I slow down and get all my ducks lined up in a row before continuing it is attaching hinges.  Perhaps I still haven't done enough hinges but I still get in trouble now and then.  In order to match the  style of the chest and keep costs reasonable I chose a un-equal strap hinge from leevalley labeled "A" on this page :(http://www.leevalley.com/US/hardware/page.aspx?p=41912&cat=3,41241,41262&ap=1).  This is a great looking hinge that has a worn patina.

There is a hitch however, you have to bend it yourself, of course that is probably its strength as well.

Its not all that difficult but there are a few gotchas:

     -Be aware that you must account for the thickness of the leaf when marking where you want the bend to start. In this case the leaf was 1/16" thick so I started the bend 1/8" ahead of where it was to end.
    - Use a hammer and metal vise,
    - The closer to 90 deg. the bend, the better the fit. You want a nice square, crisp bend.
    -Try and use double stick tape to "test drive" the hinge action, making sure it does not bind and there is enough clearance.  You can always make the hinge mortises deeper, but you will have to shim to make them shallower.

Bend the hinges by clamping in the vise, using your hands to start and finish with a hammer.


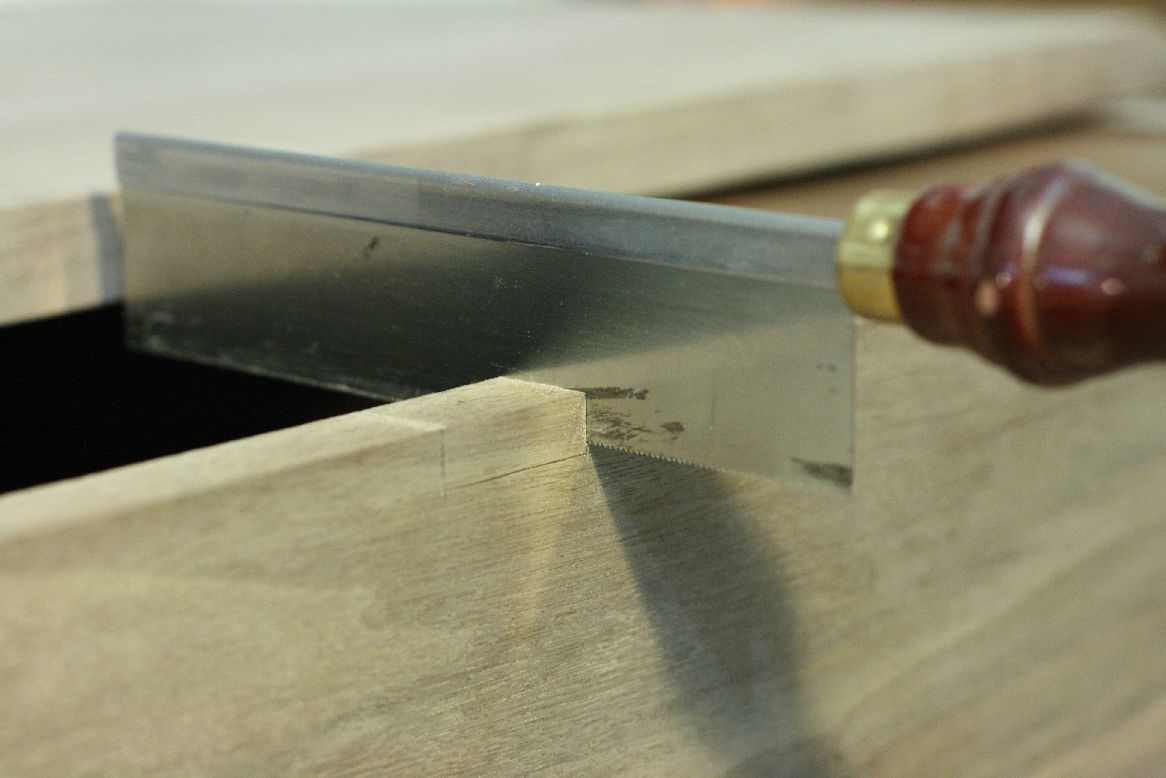
Mark your mortise locations using a marking knife.  In this case the depth of the mortise was for the thickness of the leaf and the barrel.  In reality this turned out to be too deep and I feel the barrel should stick up past back's edge by a tad. The mortises sides are establishing using a Razor Saw and a sharp chisel is used to pare down to the bottom. Take your time, there are no second chances without shimming.


According to the Chris Schwarz there is an old furniture maker's dimension to determine the distance between the hinges.  You take the length of the lid and divide it by 2 and that is the distance the hinge's centerline must be apart. I spaced this hinge, 2 hinge widths from the side and since the lid was 40" wide, the other hinge 20" over. This worked perfectly for me, especially given that with this type of chest, because of the till's lid, it cannot be mounted symmetrically.